
This is a step-by-step guide to creating a new WordPress website with Dreamhost, from registering a domain name to buying web hosting services and installing WordPress.
I’ve used Dreamhost for many years and I still recommend it to both new and experienced bloggers looking for a reliable and affordable web hosting service for their WordPress websites.
In this article, I’ll share the exact steps needed to set up a new WordPress site with Dreamhost so you can start blogging tomorrow.
1. Register a domain name
You can register a domain with Dreamhost at the same time as buying web hosting, or you can register your domain elsewhere before buying a hosting package.
If you want to do both with Dreamhost (which might be easier), you can skip straight to step 2.
However, if you’re like me and want to keep your domain and web hosting separate, follow these steps to register your new domain with Namecheap.
Go to namecheap.com and enter the domain name you’ve chosen into the search box:
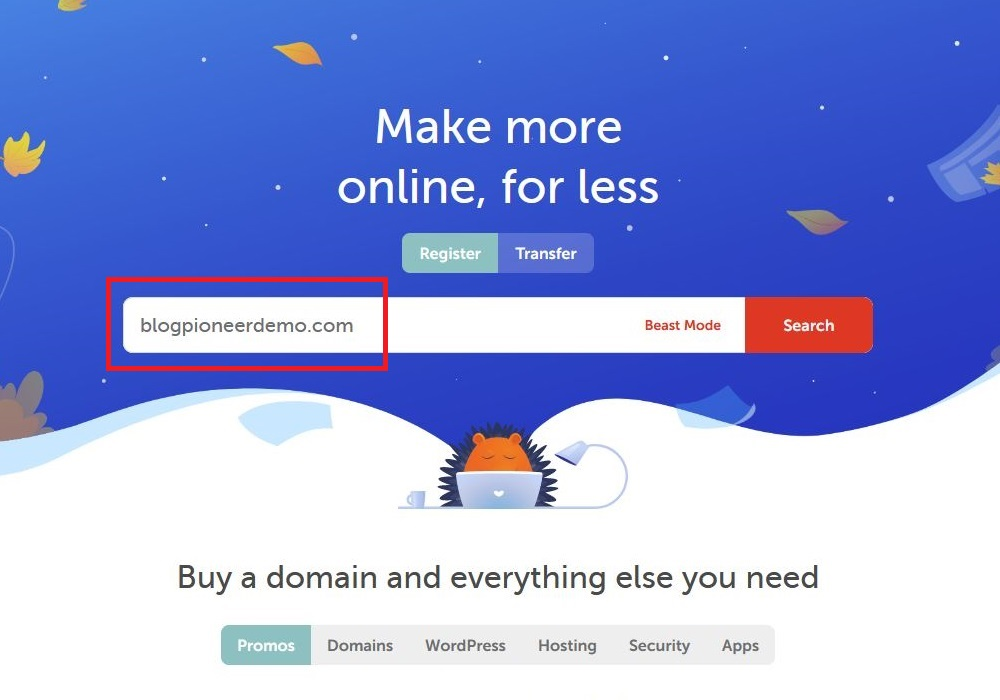
Click the Add to Cart button:
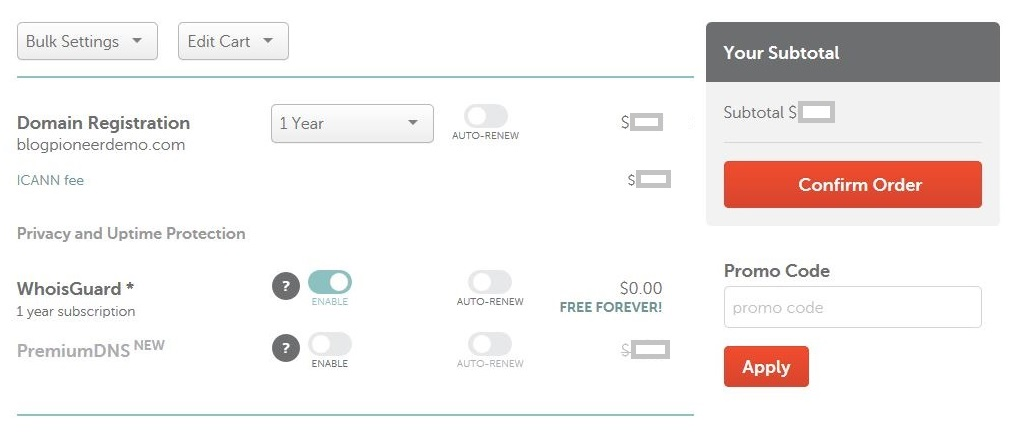
Click checkout and take a look at your order. Make sure you’ve selected WhoisGuard and choose the number of years you want to pay for.
One year is usually enough because you can easily renew each year without additional fees.
Click on the Confirm Order button:
In the next step, you can create a Namecheap account (or just log in if you already have an account).
Submit your details and click Continue:

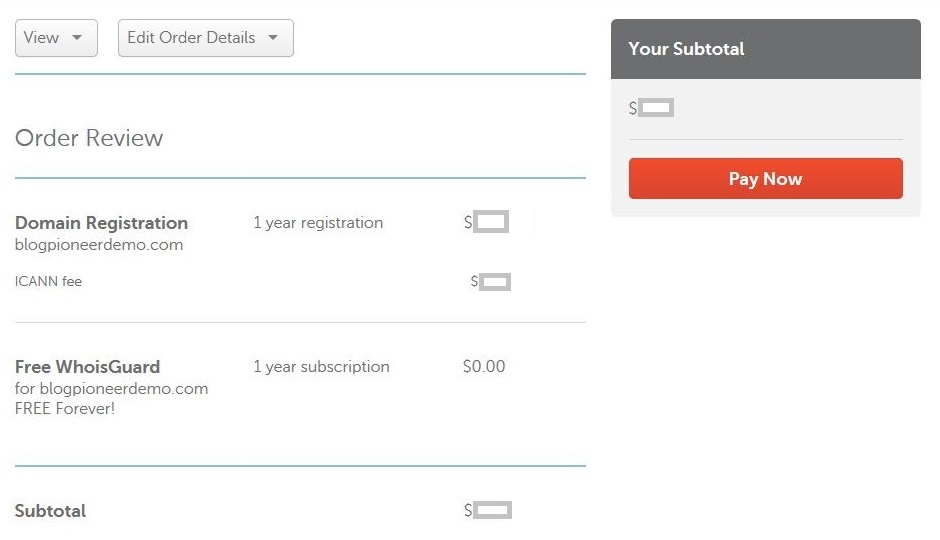
In the final step, you can submit your payment details (card or PayPal).
Once you click the Pay Now button, the domain is yours.
You can now navigate to your Namecheap account, where you can see your new domain name:

The next step is to point the nameservers for your new domain to DreamHost, since that’s where you’ll host your website.
This may sound a bit complicated but it is a fairly simple process. This Namecheap article explains exactly how to complete this step. Don’t worry, it’s easy.
And here are the custom DreamHost nameservers you can use for your domain (according to this DreamHost article).
ns1.dreamhost.com
ns2.dreamhost.com
ns3.dreamhost.com
2. Buy DreamHost web hosting
Now let’s go through the process of purchasing a DreamHost shared web hosting plan.
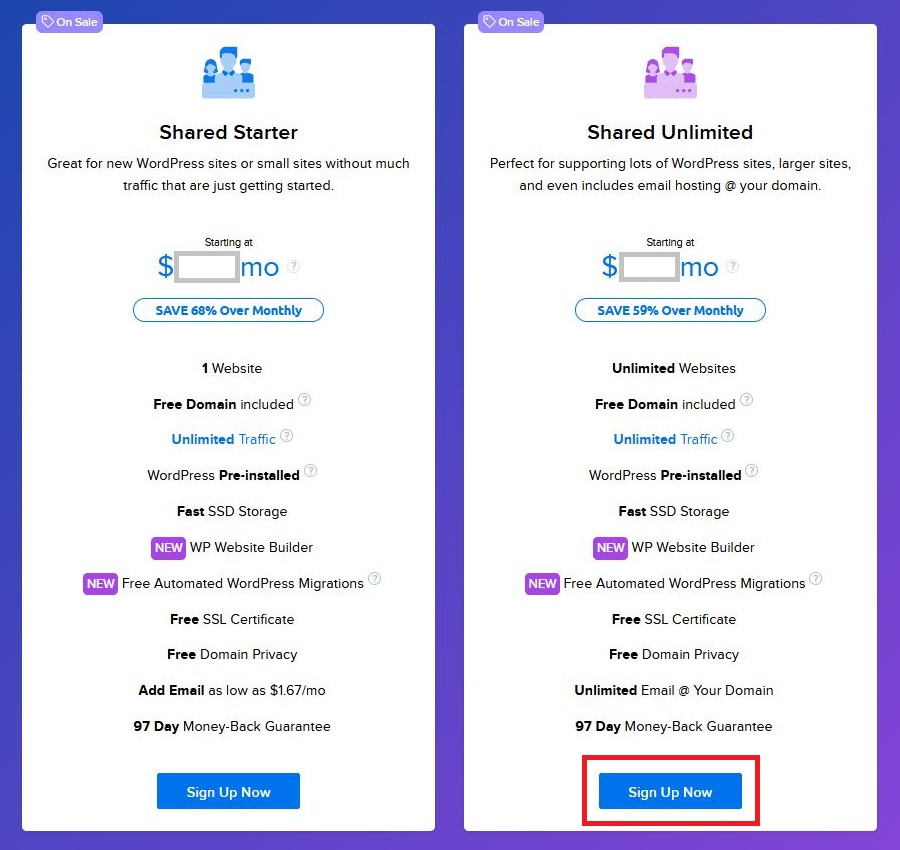
You can now choose between Shared Starter and Shared Unlimited. I highly recommend Shared Unlimited for the following reasons:
You can add more free sites later.
Dreamhost will install a free SSL certificate for you.
You will get free email (very important).
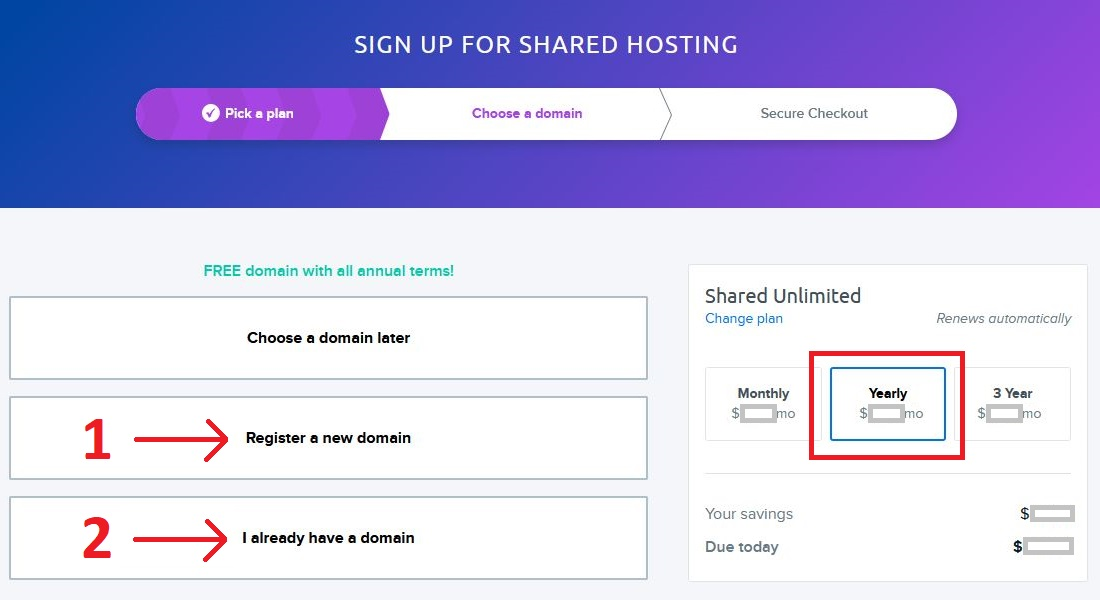
Click the Register Now button:
I recommend choosing the annual plan. This will get you a big discount compared to monthly payments without having to commit to a 3-year plan.
Now you have two options:
Register a new domain name:
If you want to register a free domain name with DreamHost.
I already have the domain:
If you have already registered your domain (with Namecheap, as above).
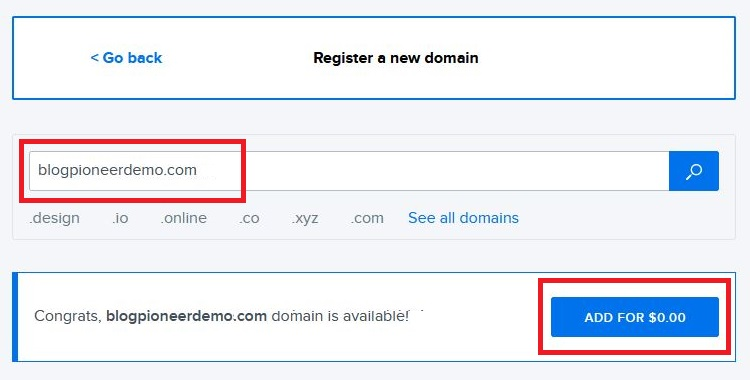
If you click “Register a new domain”, enter the domain you want to register with Dreamhost, and click the Add button:
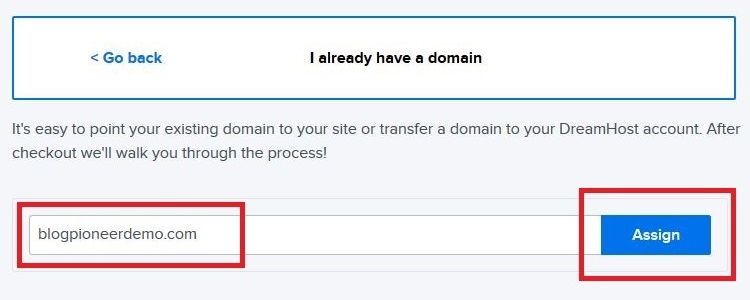
If you click “I already have a domain”, enter the domain you registered with Namecheap, and click the Assign button:
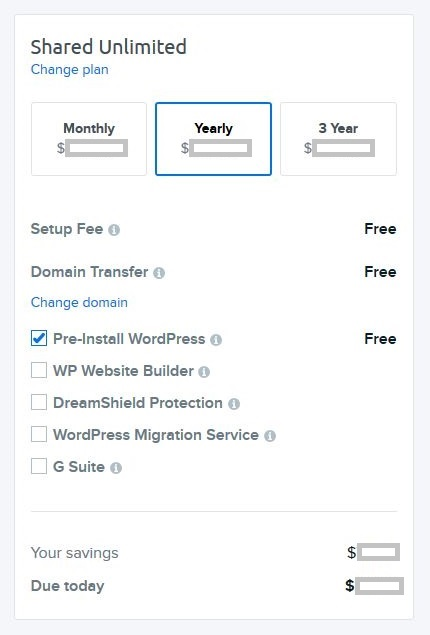
In the list of checkboxes, the only option you need to select is Pre-Install WordPress:
Submit your billing details, and hit the confirm button. Congratulations, you have officially purchased a web hosting plan for your new WordPress website!
DreamHost will now do a bit of magic in the background, and you will receive a confirmation email once that’s all sorted out.
3. Set up WordPress
As mentioned above, DreamHost will have pre-installed WordPress for you when you purchased their shared hosting plan.
It may take a little while before DreamHost has everything set up for you, but once you receive their confirmation email, you can log in to your new WordPress blog.
The WordPress Admin dashboard is located here:
www.yournewblog.com/wp-admin
And the login URL is located here:
www.yournewblog.com/wp-login.php
One of the emails you receive from DreamHost will contain the username for your new WordPress blog, plus a link to reset your password.
If you click that link, you will see something like this:
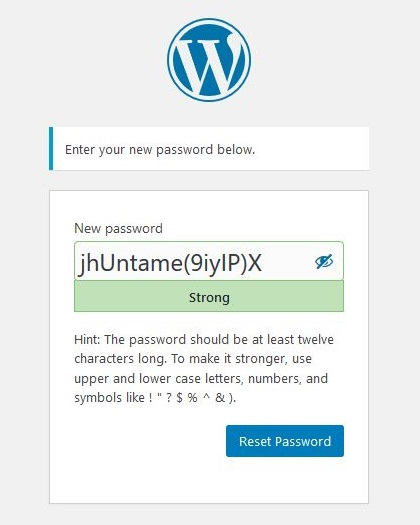
It’s important to choose a good password that is easy for you to remember and impossible for others to guess.
Once you’ve reset your password, you’re asked to log in with your username and chosen password. Congratulations, you are now logged in to your new WordPress blog!
Your WordPress dashboard will look something like this:
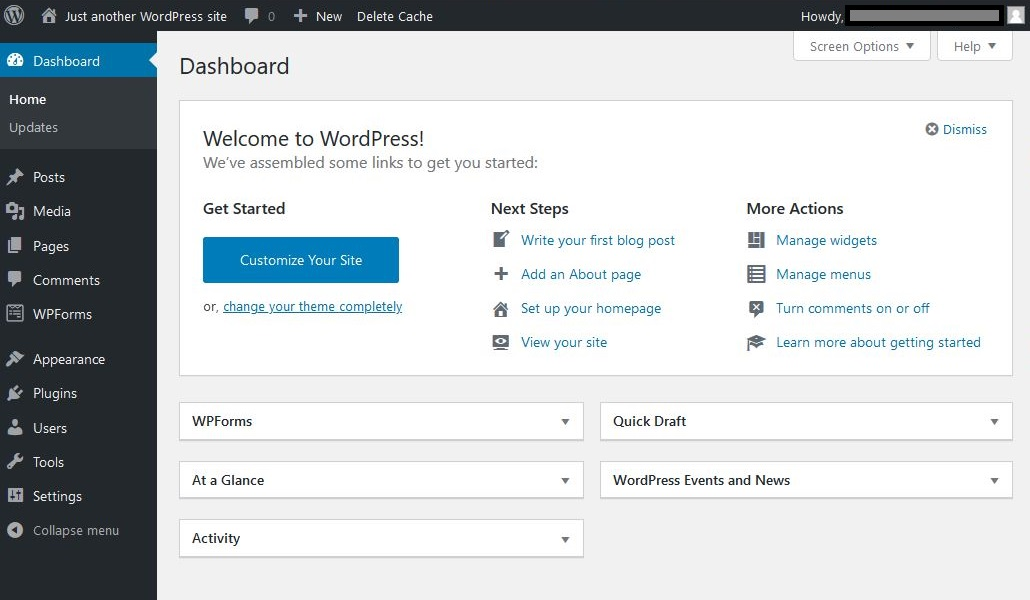
Let’s quickly go through some important features and settings in your WordPress dashboard:
- Posts:
This is where you’re going to create your future blog posts. Most likely, WordPress will have created a dummy post called “Hello World”. Feel free to click Edit underneath that post to have a quick look at the WordPress editor. - Media:
This is where all your images will be stored. You can upload images in this library or directly in the posts you are going to write. - Pages:
This is where you’re going to create standard pages, such as About, Contact, and Privacy. Most likely, WordPress will have pre-created a Privacy page for you already, which you can edit later on. - Comments:
This is where you can moderate all the comments on your blog posts. - Appearance:
This is where you can select your themes, widgets, menus, and much more. - Plugins:
This is where you can install and uninstall your WordPress plugins. WordPress will have pre-installed a few plugins, such as Akismet, to get you started. - Settings:
This is where you can configure important settings related to your site, such as the tagline, homepage layout, comment settings, and much more.
One thing I recommend you do now is set the Site Title, the Tagline, and the correct WordPress Address URL.
Go to Setting >> General:
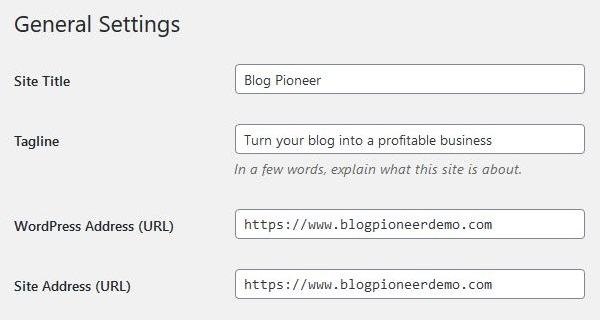
The Site Title is usually the name of your new blog. In my case, it’s Blog Pioneer.
The Tag Line explains in one short sentence what your blog is about.
The WordPress Address URL is the correct URL for your new blog. You need to make sure this is set with or without the “www” bit, depending on your preference.
WordPress Theme
Once you’ve completed the above steps, you have to decide on which WordPress theme to use. By default, WordPress comes with free pre-installed themes, which are pretty good.
However, if you’d like a more professional theme, I strongly recommend GeneratePress, one of the fastest and best-supported WordPress themes on the market. Check out my review of GeneratePress for more information.
Congratulations, you have just created a brand new WordPress website with DreamHost!
If you’ve never used WordPress before, it may take a little while to get used to, but the best thing you can do is to simply get started.
And that means creating static pages, such as contact, about, and privacy, and publishing new blog posts where you can share your stories and showcase your expertise.